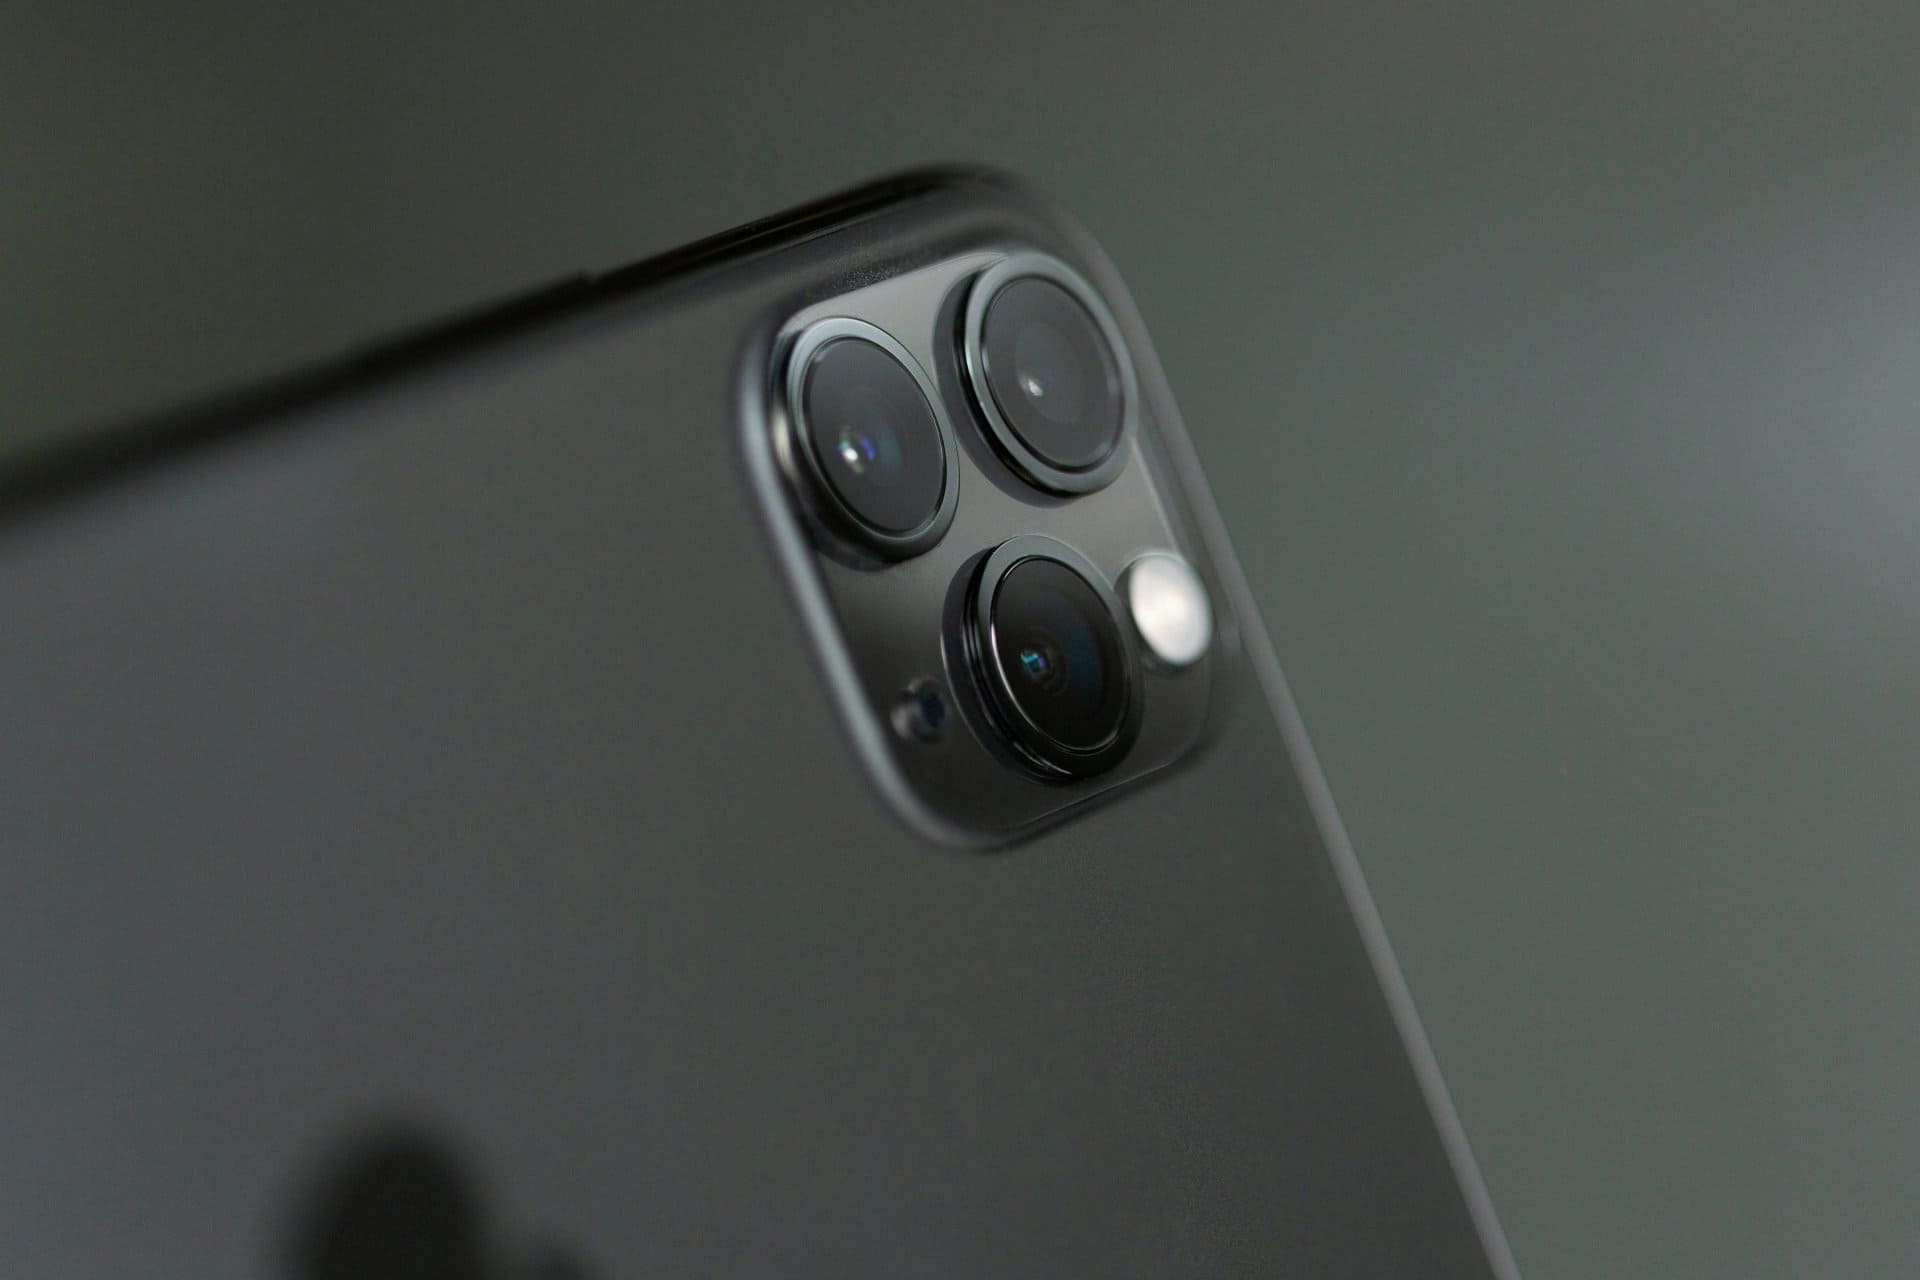
This simple idea explains why learning phone photography matters more than buying new devices.
Smartphones have changed photography forever. Today, almost everyone carries a powerful camera in their pocket. Whether you use an Android device, an iPhone, or any modern smartphone, your phone camera is capable of capturing sharp, detailed, and eye-catching images.
Yet many people still feel disappointed with their phone photos. Images look blurry. Colors feel dull. Portraits lack depth. The problem is usually not the phone. It is how the camera is used.
“The best camera is the one you have with you.”
This simple idea explains why learning phone photography matters more than buying new devices.
This guide explains how to take better photos with your phone using practical, real-world techniques. These tips work for beginners, content creators, social media users, and even mobile repair technicians who need clear photos for diagnostics, documentation, or marketing.
No expensive gear. No confusing jargon. Just clear, tested methods that improve photo quality instantly.
Why Phone Photography Matters Today
Mobile photography is no longer casual. Phone images are used for:
- Social media posts
- Online selling and product listings
- Technical documentation
- Repair work evidence
- Business marketing
- Personal memories
Modern smartphone cameras rely on computational photography, smart sensors, and AI processing. But software can only help if the basics are right.
Good photos come from light, stability, focus, and composition—not megapixels alone.
Tip 1: Clean Your Phone Camera Lens First
This step sounds obvious, but it is often ignored.
Phone lenses collect:
- Fingerprints
- Dust
- Pocket lint
- Grease
Even a thin smudge can reduce sharpness and contrast.
What to do:
- Use a clean microfiber cloth
- Wipe gently before every shoot
- Avoid using rough fabric or tissue
For repair technicians, this habit is critical. Clear images help when documenting damaged parts, solder joints, connectors, and motherboard details.
A clean lens alone can improve image clarity instantly.
Tip 2: Use Natural Light Whenever Possible
Light is the most important factor in photography.
Phone cameras perform best in bright, natural light. Indoor lighting and low light often create noise and blur.
Best lighting tips:
- Shoot near a window
- Face the light source
- Avoid harsh overhead lights
- Use shade outdoors instead of direct sunlight
If you are photographing a mobile phone for resale, repair proof, or social media, natural daylight gives accurate colors and sharp details.
Avoid mixing light sources like tube lights and sunlight. Mixed lighting confuses phone camera sensors.
Tip 3: Tap to Focus and Adjust Exposure
Most users just open the camera app and press the shutter. That’s a mistake.
Every smartphone allows manual focus selection by tapping on the screen.
How this helps:
- Locks focus on the subject
- Prevents blurry images
- Improves exposure accuracy
After tapping:
- Slide the exposure control slightly down
- Avoid overly bright highlights
For close-up shots, such as IC chips, connectors, or damaged screens, tapping to focus is essential for technicians.
Never rely fully on auto mode.
Tip 4: Hold Your Phone Steady (This Matters More Than You Think)
Camera shake is a major cause of poor photos.
Phones are light. Even small hand movements cause blur, especially in low light.
Better stability methods:
- Use both hands
- Keep elbows close to your body
- Lean against a wall
- Rest the phone on a solid surface
For repair work photos, resting the phone on a table or tripod ensures consistent, sharp documentation.
Sharp photos start with stability, not settings.
Tip 5: Avoid Digital Zoom Completely
Digital zoom does not bring you closer. It simply crops the image and reduces quality.
This results in:
- Pixelated photos
- Loss of detail
- Poor clarity
What to do instead:
- Move physically closer to the subject
- Use optical zoom only (if available)
- Crop later during editing
Technicians should especially avoid zooming when capturing board-level faults. Move the phone closer instead.
Digital zoom lowers image quality instantly.
Tip 6: Turn On Grid Lines for Better Composition
Composition is how elements are arranged in a photo.
Most phone cameras offer grid lines based on the rule of thirds.
Why grid lines help:
- Improve balance
- Keep horizons straight
- Position subjects naturally
Enable grid lines from camera settings.
Place:
- Faces on intersection points
- Objects slightly off-center
- Straight edges aligned with grid lines
This improves photos for social media, blogs, repair reports, and online listings.
Tip 7: Use HDR Mode Smartly
HDR (High Dynamic Range) combines multiple exposures into one photo.
It is useful when:
- Bright skies and dark foregrounds exist
- Indoor light meets window light
Use HDR when:
- Shooting landscapes
- Taking photos against sunlight
- Capturing details in shadows
Avoid HDR when:
- Subject is moving
- You want natural contrast
HDR is a tool, not a default setting.
Tip 8: Master Portrait Mode (But Know Its Limits)
Portrait mode creates background blur using software and depth sensors.
It works best when:
- Subject is well-lit
- Background is not too complex
- Distance is correct
Best uses:
- People
- Small objects
- Phones for resale or marketing
Limitations:
- Edge detection errors
- Struggles in low light
For technicians photographing devices, portrait mode helps highlight specific components when used carefully.
Tip 9: Edit Lightly After Taking the Photo
Editing is part of modern photography.
Even professionals edit images.
Basic edits to focus on:
- Brightness
- Contrast
- Sharpness
- White balance
Avoid:
- Over-saturation
- Heavy filters
- Unreal colors
Apps like Snapseed or Lightroom Mobile allow controlled edits without ruining image quality.
Good editing enhances reality, not replaces it.
Tip 10: Use the Right Mode for the Right Situation
Your smartphone camera includes multiple modes for a reason.
Common modes and uses:
- Photo: Everyday shots
- Night Mode: Low-light scenes
- Pro Mode: Manual control (ISO, shutter)
- Macro: Close-up details
- Video: Motion capture
Technicians can benefit from macro mode for PCB shots and pro mode to control exposure under workshop lighting.
Using the correct mode saves time and improves results.
Extra Method: Use Pro Mode for Full Control (Advanced but Powerful)
This method is often overlooked but extremely useful.
Pro mode allows manual control of:
- ISO
- Shutter speed
- White balance
- Focus
When to use Pro mode:
- Low-light indoor shots
- Repair bench photography
- Consistent documentation
- Avoiding auto exposure errors
Lower ISO reduces noise. Slower shutter increases brightness (use stable support).
This method is especially valuable for mobile repair technicians and advanced users.
Common Mistakes That Ruin Phone Photos
Avoid these habits:
- Shooting with dirty lenses
- Using flash unnecessarily
- Over-editing images
- Ignoring lighting direction
- Relying only on auto mode
Small changes fix most issues.
Phone Photography Tips for Repair Technicians
Phone photos are useful in repair work for:
- Before-after comparisons
- Customer transparency
- Training documentation
- Online promotion
Best practices for technicians:
- Use consistent lighting
- Shoot from fixed angles
- Avoid shadows on boards
- Label images clearly
Clear images build trust and professionalism.
“Good photography is not about equipment. It’s about understanding light, timing, and intention.”
This applies to smartphones just as much as professional cameras.
Are Expensive Phones Necessary for Good Photos?
Not really.
Mid-range smartphones today can capture excellent images if used correctly.
What matters more:
- Light
- Stability
- Focus
- Composition
Skills beat specs every time.
Final Thoughts: Anyone Can Take Better Phone Photos
Learning how to take better photos with your phone is not complicated. It is about awareness and practice, not technology alone.
Whether you are:
- A beginner
- A social media creator
- A business owner
- A mobile repair technician
These tips help you get more from your smartphone camera.
Start with one habit today. Clean the lens. Use light properly. Tap to focus.
Small steps create visible improvement.
Simple Takeaway Summary
- Clean lens before shooting
- Use natural light
- Avoid digital zoom
- Hold the phone steady
- Edit lightly, not heavily
Your phone is already powerful. Use it wisely.
