Tag: mobile phones
-

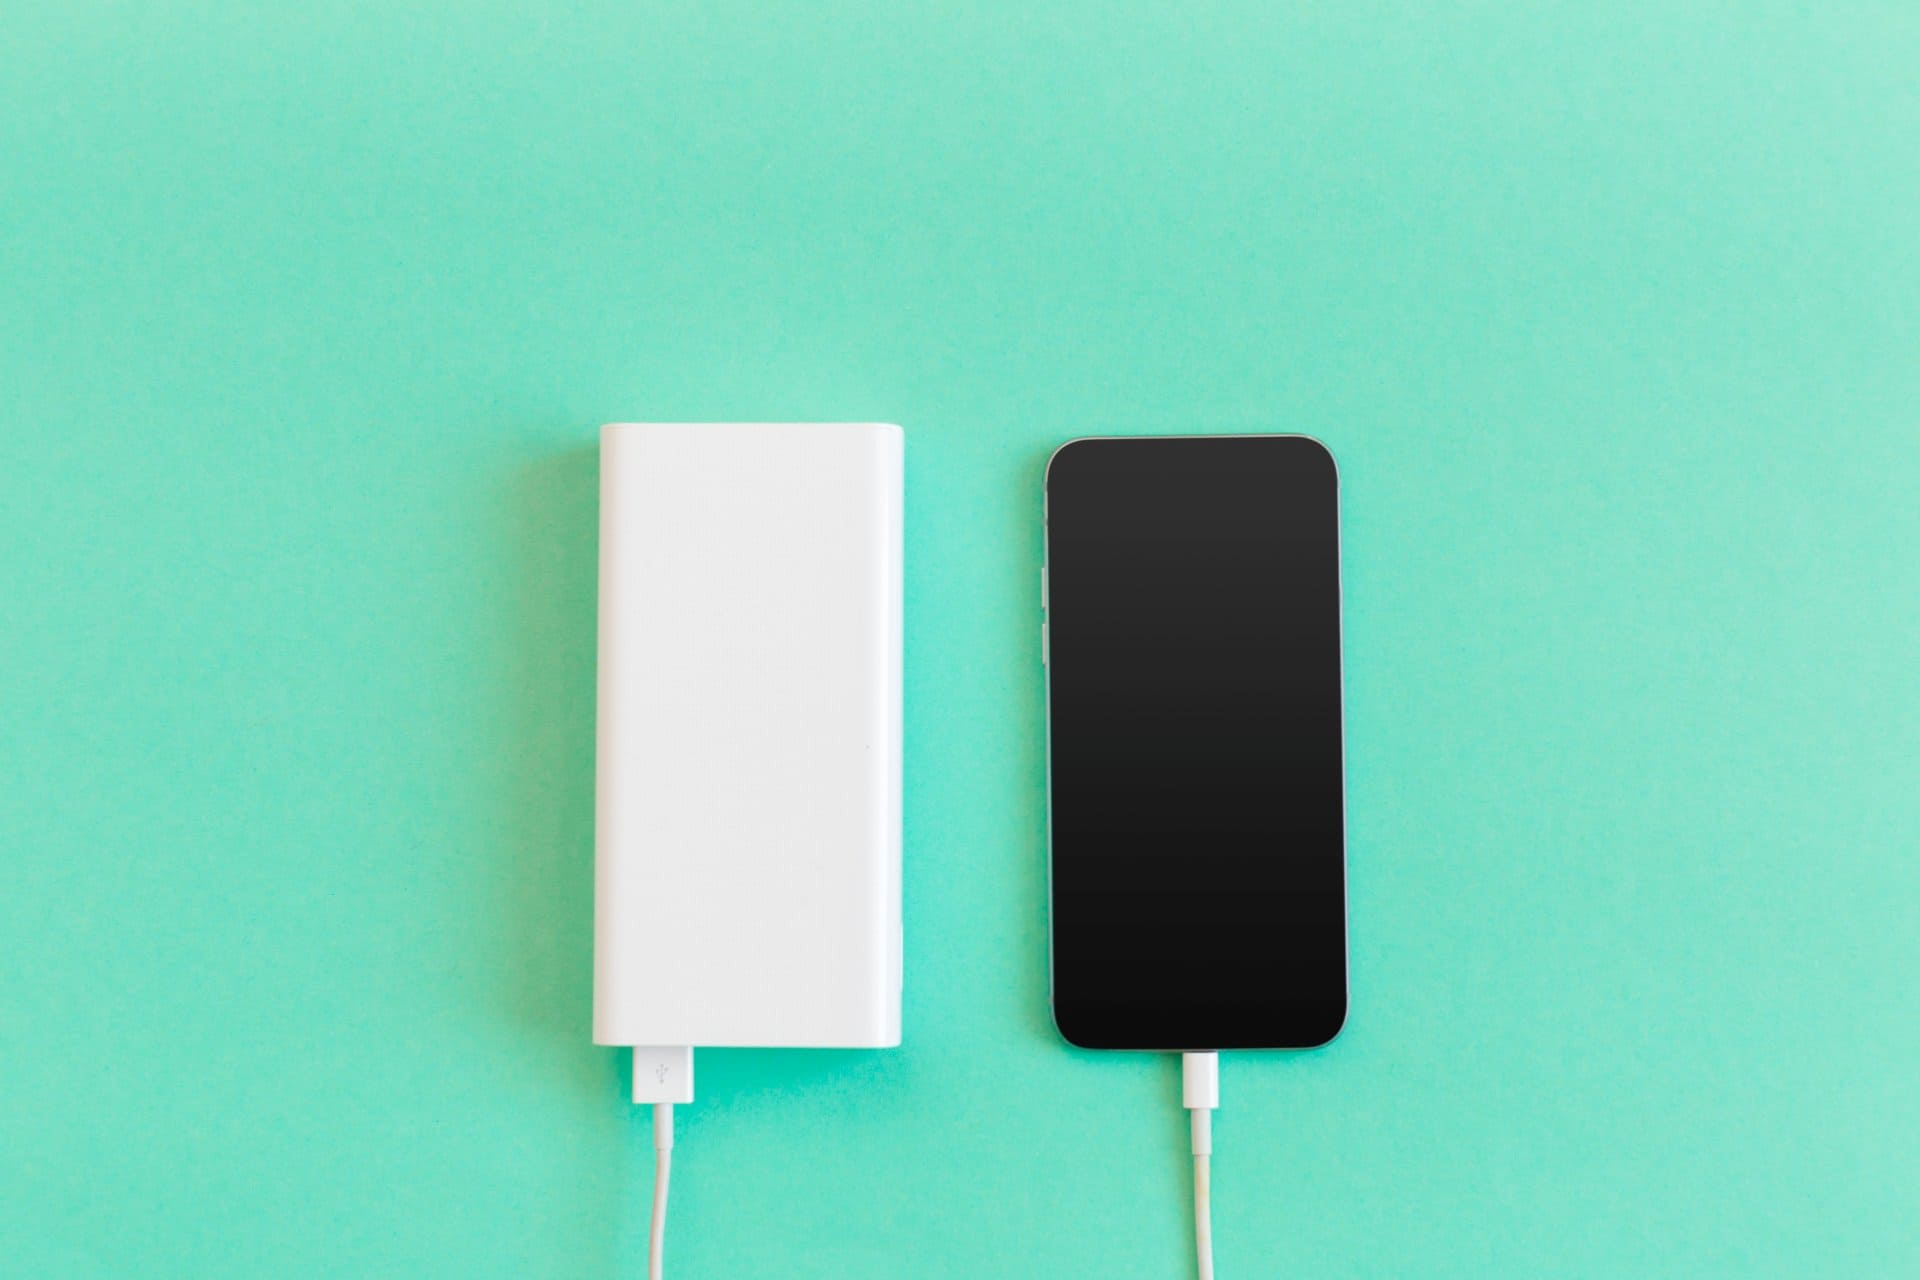
Is It Safe to Use Your Phone While Charging? Heat & Safety
Using your phone while charging is something most of us do every day. We reply to messages, scroll social media,…
-
Why Does My Phone Heat Up While Charging? How to Fix?
Phone heating during charging is one of the most common concerns among smartphone users. You plug in your mobile phone,…
-
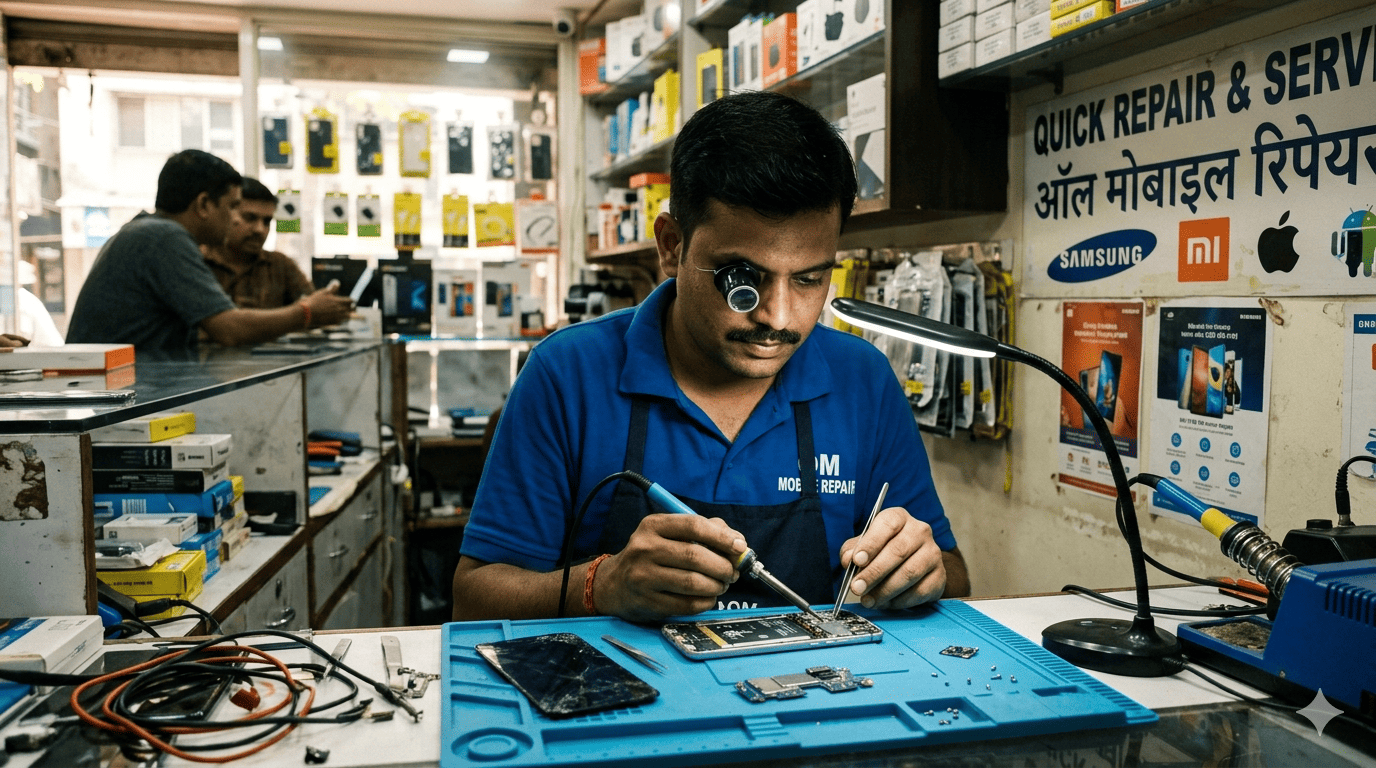
Complete Mobile Repair Shop Setup Cost in India
Introduction Thinking of starting your own mobile repair business but not sure about the cost? You are not alone. Many…
-

Mobile Repairing Course Eligibility: Can You Join After 10th or 12th Std
If you’ve just completed your 10th or 12th Std and are unsure about your next step, you’re not alone. Many…
-

How to Fix Screen Burn on Phone – 5 Proven Methods (2026)
Screen burn is one of the most frustrating phone display problems. You unlock your phone and notice faint shadows of…
-
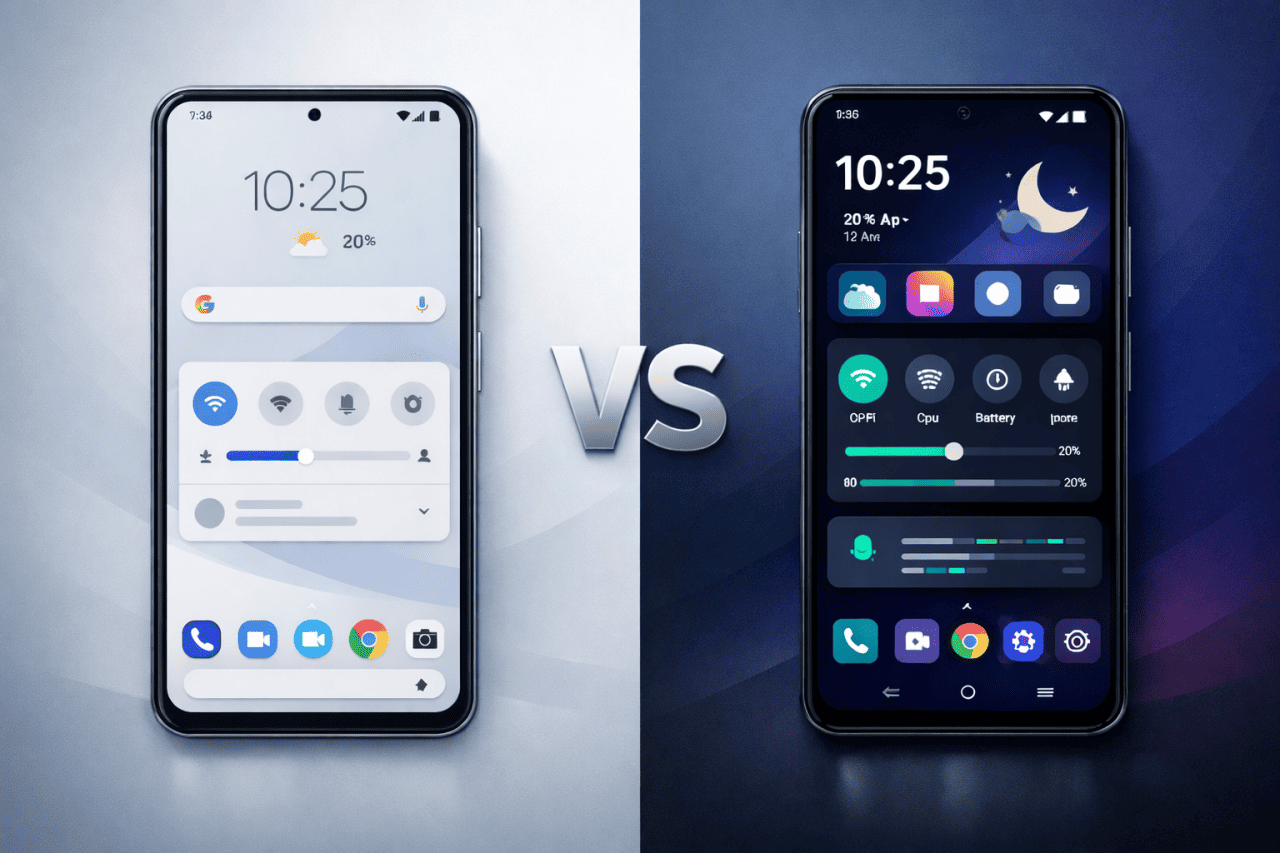
Android Stock ROM vs Custom ROM: Which Is Best for Flashing?
If you use an Android smartphone for some time, you may feel that it has become slow, cluttered, or outdated.…
-

How to Become a Certified Mobile Phone Repair Technician in 2026
Smartphones have become essential in daily life. From payments and banking to education and business, almost everything depends on a…
-
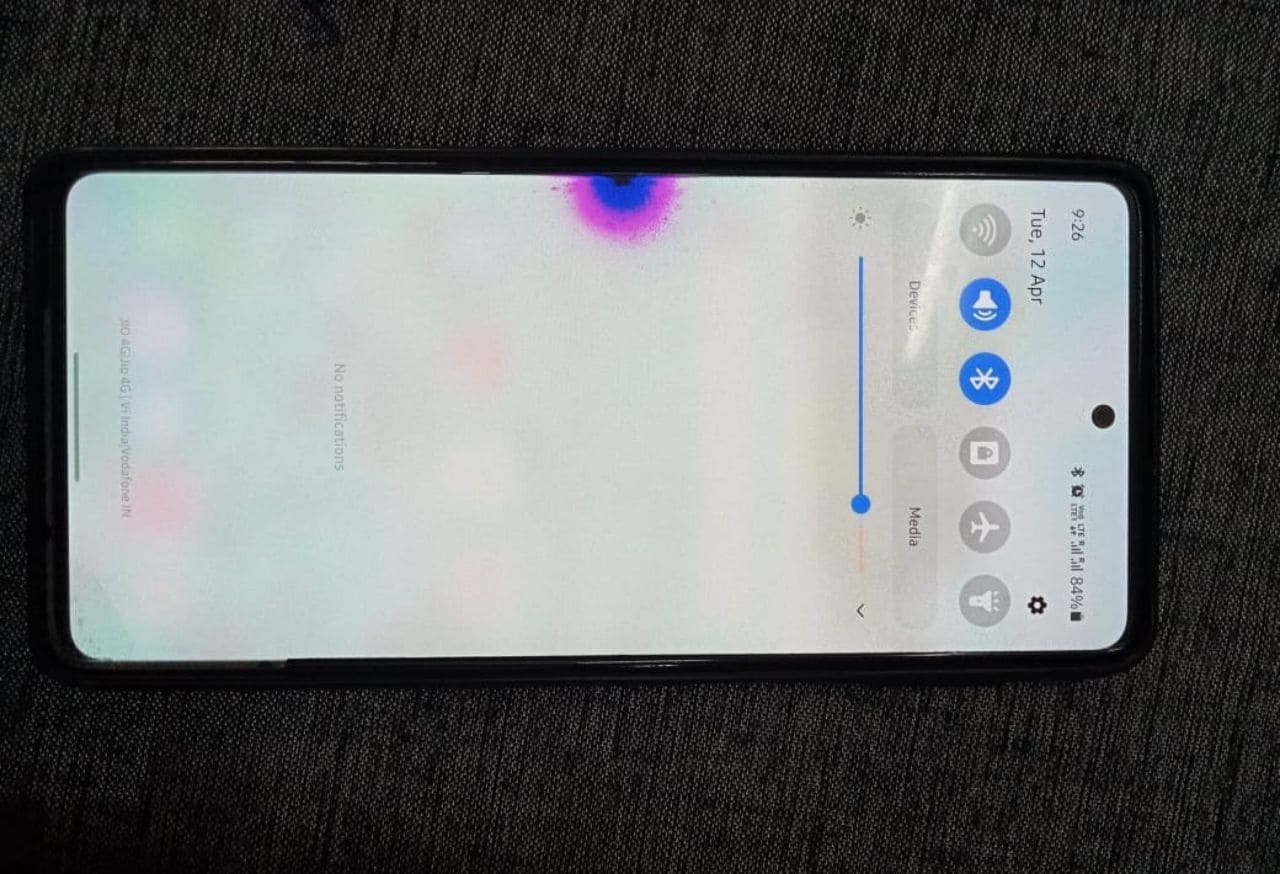
How to Fix Pink, Purple or Blue Spot on Phone Screen (Proven Tips)
Noticing a pink, purple, or blue spot on your phone screen can be worrying. These colored patches often appear suddenly,…
-
How Much RAM is Enough for Mobile Gaming? 4GB vs 6GB vs 8GB
Mobile gaming has changed a lot in the last few years. Games like BGMI, Free Fire, PubG, Call of Duty…
-

7 Common Mobile Phone Repair Scams in India and How to Avoid Them
A broken phone is stressful. Whether it is a cracked screen, battery problem, charging issue, or water damage, most people…