Tag: wet phone
-

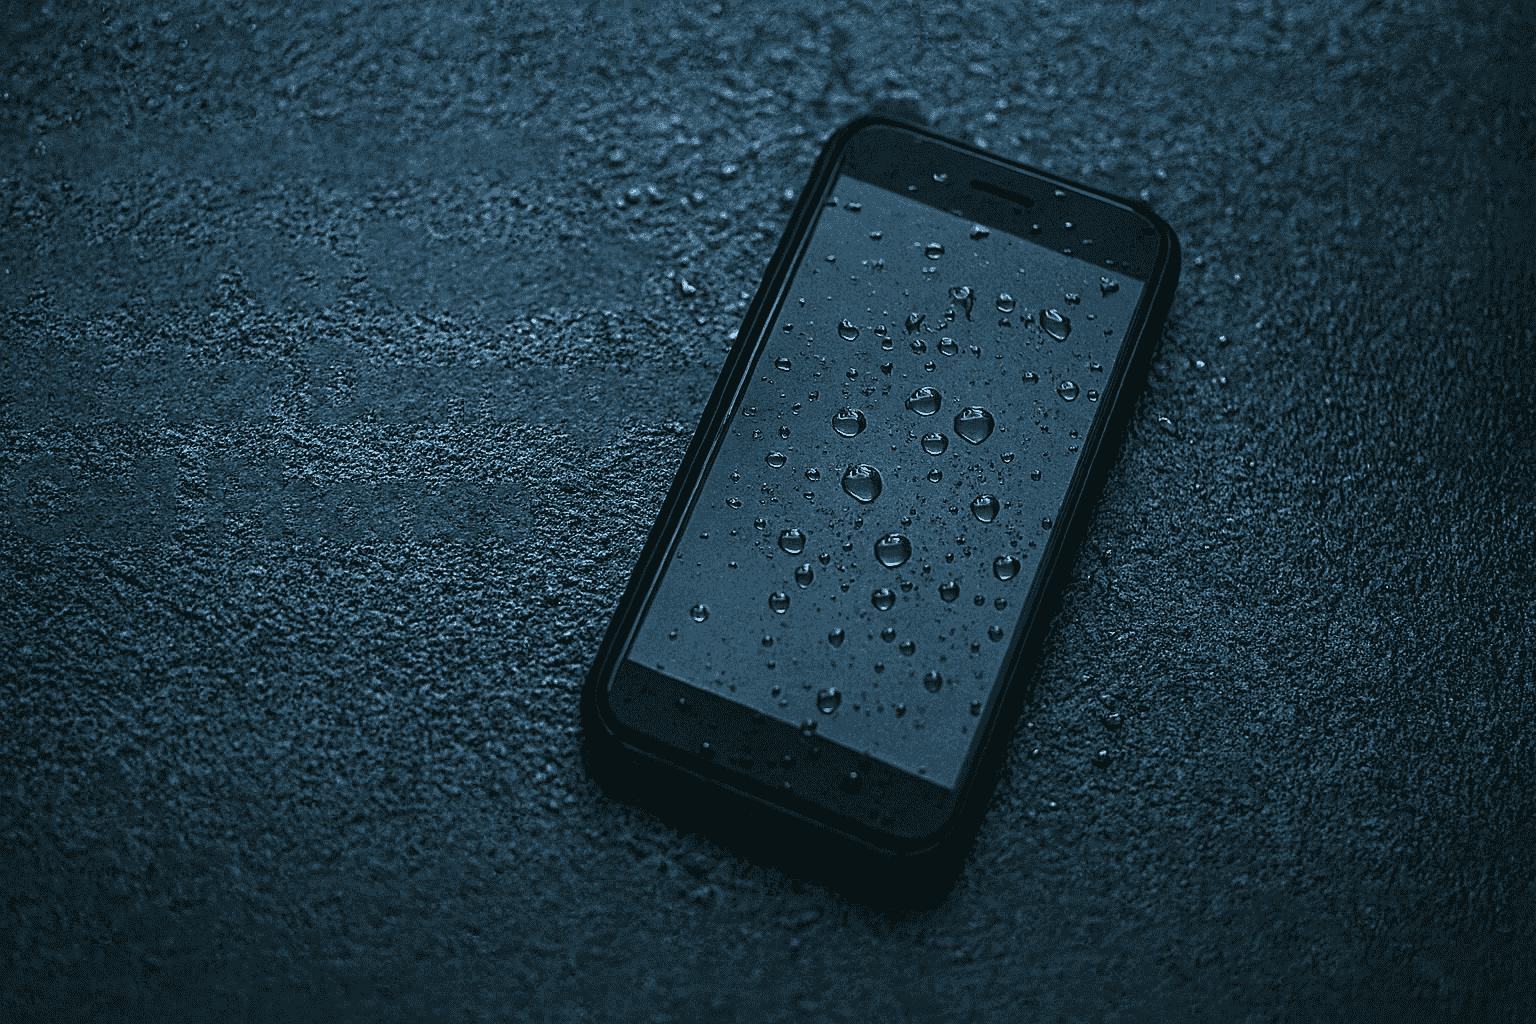
Phone Fell in Water? 5 Instant Steps to Save It (No Rice!)
Introduction Few moments are more stressful than watching your phone fall into water!It could slip into a sink, bucket, swimming…
-
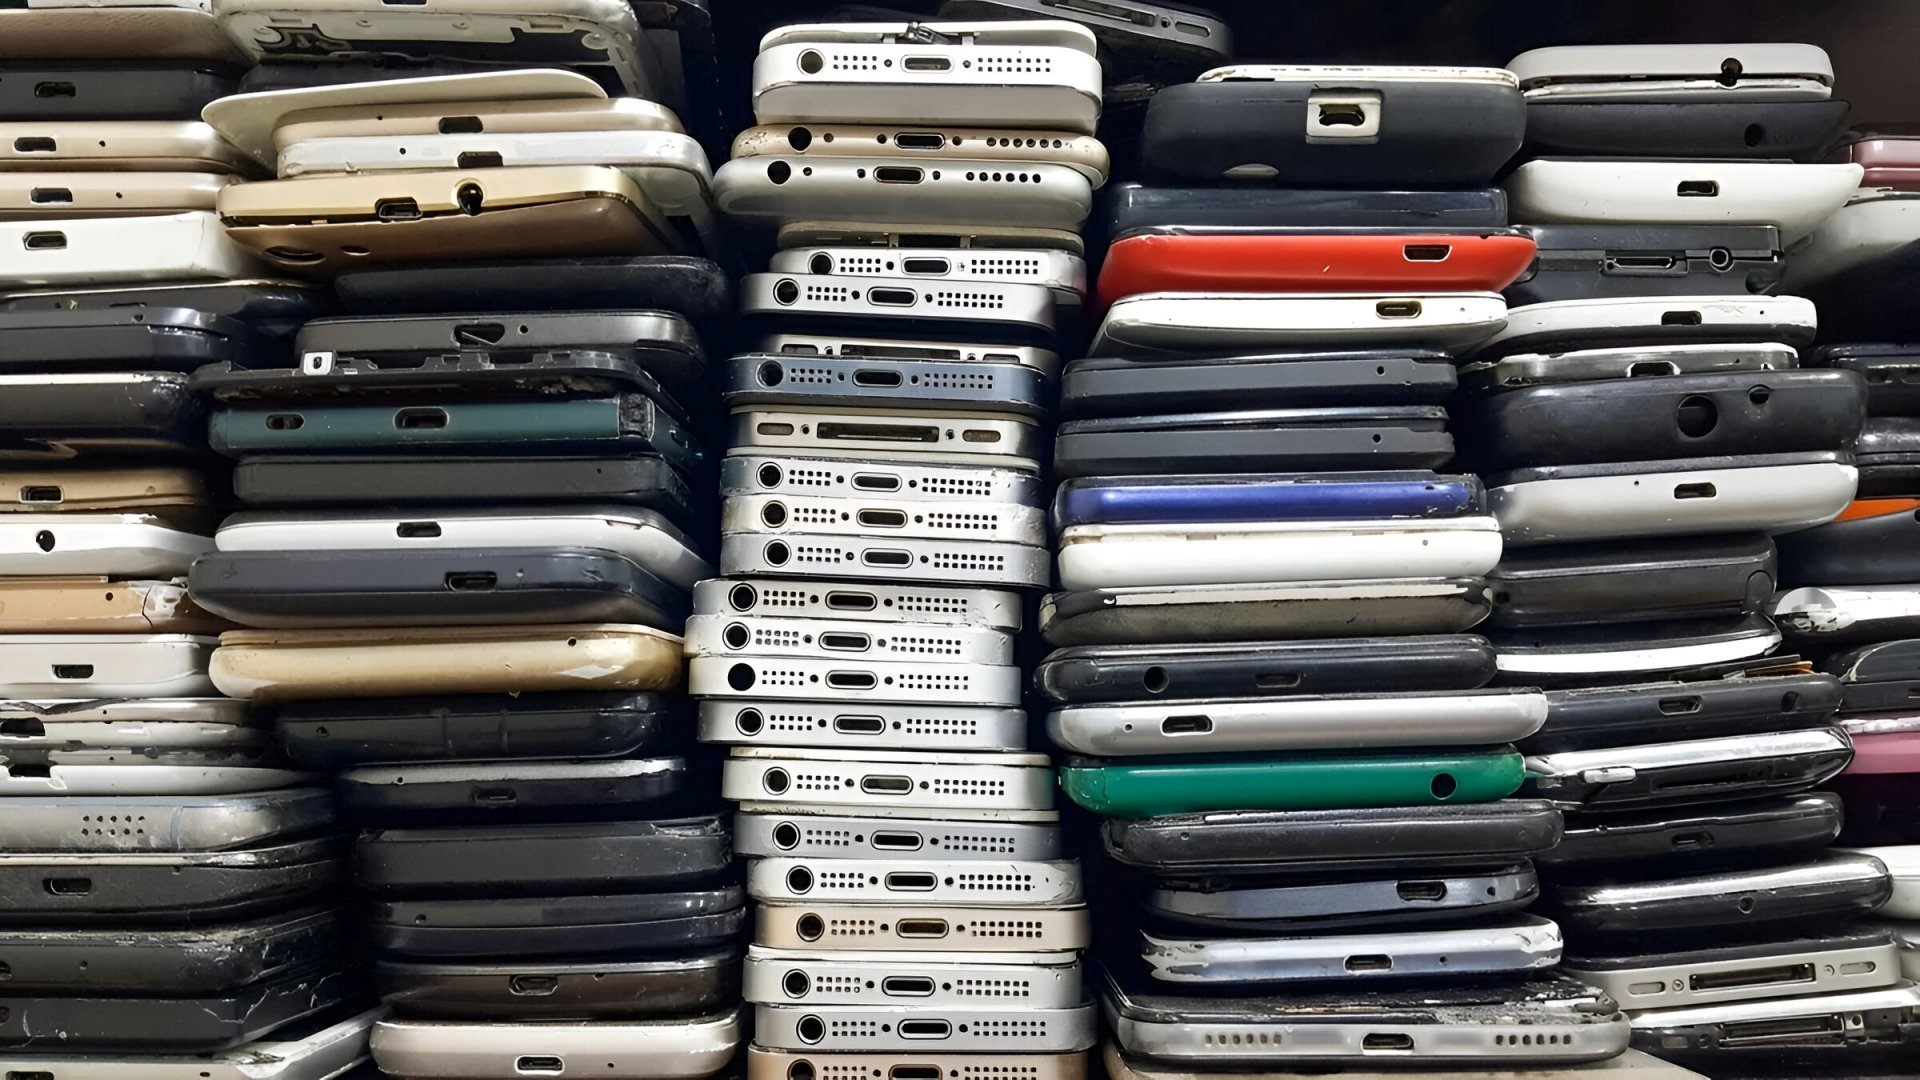
6 Important Things to Check Before Buying a Second Hand Mobile Phone (Used Phone)
Buying a pre-owned smartphone can be a smart financial decision, especially for people who love upgrading often or want good…
-
How To Repair Water Damaged Cell Phones In 4 Steps – Easy Guide
Let’s face it! Most of us have been unlucky at least once in our lifetime by having our precious phone…