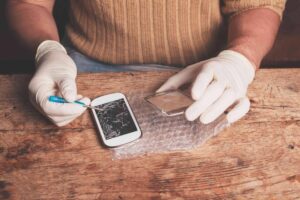
Let’s face it! Most of us have been unlucky at least once in our lifetime by having our precious phone waterlogged. Right?
It may be due to a coffee spill, dropping it in a bucket of water, getting wet in the rains, or any other clumsy reason.
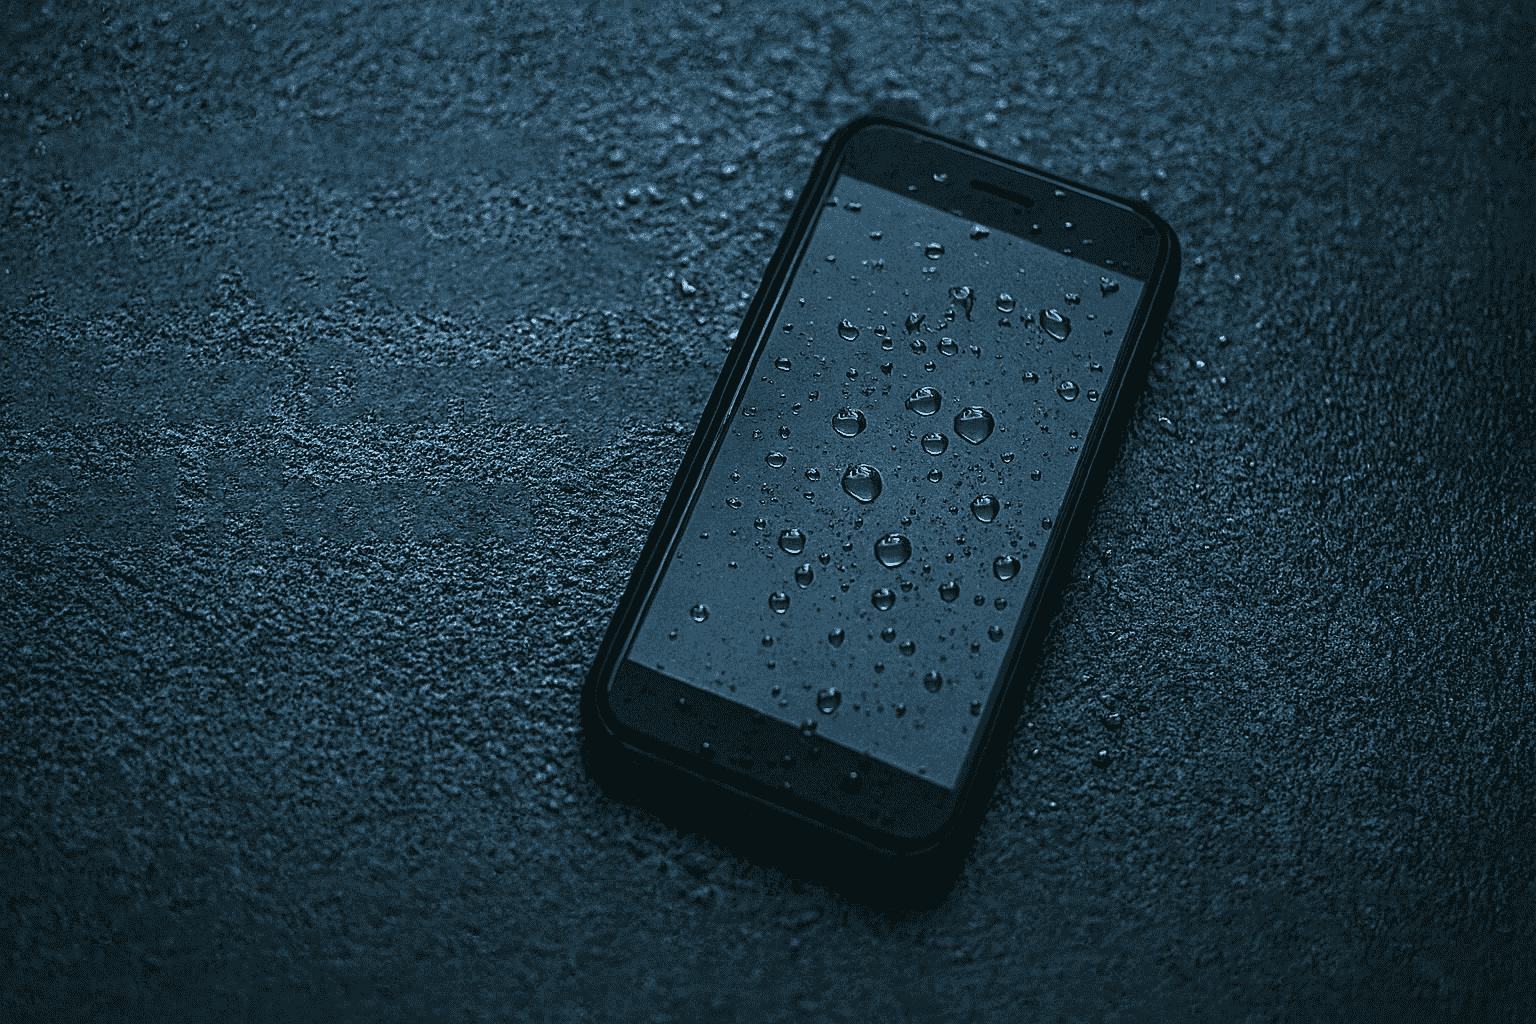
Many times, the data inside your handset may be more important than the phone itself. So reviving a liquid-damaged phone becomes even more important today because our phones hold banking apps, passwords, photos, videos, and personal files.
So how do you deal with a wet phone?
Step 1 – Disconnect the battery immediately
As soon as you realize your smartphone is wet, detach the battery. This is the most vital step to save your device. Open the back cover and remove the battery quickly.
The sooner you remove the battery, the better. If you wait for more than a few seconds, the phone may get short-circuited and may also become irreparable.
But today, almost all phones come with sealed or non-removable batteries. So this step has become impossible for most users. In such cases, switch off the phone immediately, avoid pressing any buttons, and visit the nearest mobile repair shop to get the handset opened and dried.
Also remove the SIM card and memory card to avoid damage to them.
Reason: Water is a good conductor of electricity. If water reaches the motherboard, current starts flowing in unwanted areas and causes short-circuits. Some parts require only 1 volt but may receive 3.8 volts directly from the battery. This is enough to damage sensitive components.
Remember: No power means no damage.
Step 2 – Dismantle and dry out the water
Once the phone is switched off, the next step is to dismantle it and dry out all the water inside. Use YouTube only if you are confident, as modern phones use delicate flex cables, tiny connectors, and multiple layers of shielding.
To dry the phone, you can use any of these:
- A hot air gun
- A hair dryer
- A heater
- Direct sunlight
- Any warm air appliance
If you use a hair dryer, keep it at a safe distance and move it in a sweeping motion. Focus on the charging port, headset jack, SIM tray, speaker grills, and microphone holes. Dry both sides of the motherboard to ensure the water evaporates completely.
Important: Never use an oven, microwave, or extreme heat. High temperatures can melt plastic parts and damage chips.
If you wish to learn mobile repair professionally, you can join Prizm Institute’s online cell phone repair training and learn repair skills from home.
Step 3 – Clean the motherboard with isopropyl alcohol
Water contains minerals. These minerals leave deposits and may cause corrosion on the motherboard over time.
So it is recommended to clean the motherboard with IPA (Isopropyl Alcohol). A concentration of 90% or above works best. It removes moisture, minerals, and corrosion safely. Do not use tap water, perfume, or low-quality thinner because they leave residue.
Step 4 – Reassemble your device
After drying and cleaning, check if the motherboard is short-circuited using a multimeter. If it is not short, reassemble your device and switch it on.
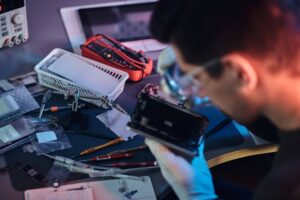
If you are lucky, your phone will return to normal working condition. And if you are not successful, then your phone may need the services of a professional mobile phone repairing service center. Also if any other fault occurs in the handset due to this mishap and you are unable to fix it then undoubtedly you will have to let a technician handle the job.
If the phone does not start, or if it shows unusual behavior like auto-restarts or battery drain, then it needs professional service. Modern phones have ICs, UFS storage chips, PMIC, and other micro-components that require expert handling.
Here is a comprehensive new guide for DIY water damaged cell phone repair to fix your phone yourself.
The Rice Method – Does It Work?

Another famous method followed by many people is the rice method. They cover the handset with uncooked rice for a day so that rice absorbs the moisture.
Other absorbent materials like silica gel packets, which come in shoe boxes and electronics packages, work even better.
Rice method is explained in detail at www.instructables.com/id/How-to-dry-out-and-fix-a-cell-phone-that-got-water/
But this method has limitations.
Use rice only when a few drops of water have entered the device.
If the phone was fully submerged, rice cannot pull out all the moisture trapped inside the layers.
Updated Tips
- There are two types of water exposure:
minor exposure (few drops) and complete submersion. - These guidelines apply to smartphones, iPhones, tablets, and most electronic gadgets.
- Always back up your data using Google Drive, iCloud, or an external device.
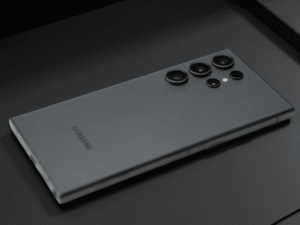
- Even water-resistant phones rated IP67 or IP68 can get damaged by saltwater or hot water. Never try to test your device purposely.
- Once you open a water-resistant phone, it loses its water resistance unless resealed professionally.
- If the phone shows recurring problems after water exposure, you may need to replace the motherboard.
- If the motherboard is unavailable or expensive, buying a new phone may be the only option.
- Saltwater, tea, coffee, soft drinks, and soapy water are more harmful than clean water because they contain minerals, sugar, and chemicals that corrode the motherboard faster.
Extra Expert Advice
1. Use moisture-indicator tools
Modern phones contain Liquid Contact Indicators (LCI). Technicians use them to check water exposure. If LCI turns red, it confirms internal water entry.
2. Never charge a wet phone
Charging a wet phone increases the chances of total motherboard failure.
3. Avoid shaking or blowing too hard
This spreads the water inside the device instead of removing it.
4. Avoid using vacuum cleaners
They can create static electricity and damage internal chips.
5. Time is critical
Most successful recoveries happen when the phone is handled within 1–2 hours.
Read: Safety and precausions to be taken for cell phone repairs
Final Thoughts
Water damage is common and can happen in seconds. But if you act fast and follow safe and proven steps, you can protect your phone and your valuable data. For complicated cases, always trust a professional repair technician who has the right tools, experience, and training. Here is a complete list of all mobile repairing tools with prices that a professional technician should have.
Please consider sharing this post on Facebook and Twitter.
We would love to hear more ideas, tips, and suggestions. Feel free to write your opinions in the comments below.