Introduction
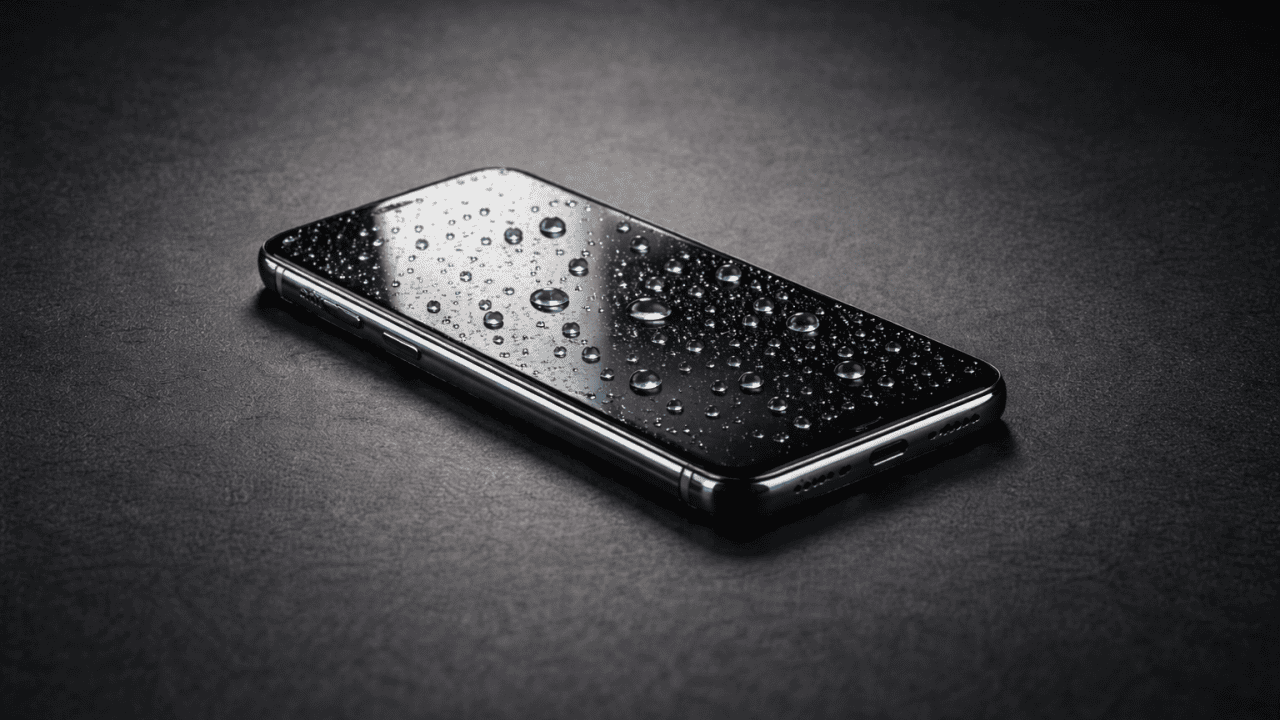
Accidentally dropping a phone in water is one of the most stressful moments for any smartphone user. It happens fast—phones slip into sinks, toilets, buckets, or even get soaked in heavy rain. Many people panic and make quick decisions that can permanently damage their device.
The good news is this:
A water-damaged phone is not always a dead phone.
If you act calmly and follow the right steps, you can significantly improve the chances of saving your mobile device be it any Android smartphone or iPhone. This guide explains 7 safe DIY steps that are widely accepted, practical, and suitable for beginners.
This article covers:
- What actually happens when water enters a phone
- What you must do immediately
- What you must never do
- Step-by-step DIY recovery actions
- When professional repair is unavoidable
No myths. No risky shortcuts. Just clear, real-world guidance.
Understanding Water Damage in Phones (Simple Explanation)
Water damage is not just about getting a phone wet. The real danger comes from electric current + moisture.
When water enters a smartphone:
- It can cause short circuits
- It can trigger corrosion on internal components
- Damage can worsen hours or days later, even if the phone seems fine
Types of Liquid Damage
Not all liquids cause the same level of harm:
| Liquid Type | Damage Level | Reason |
|---|---|---|
| Clean water | Lower | Fewer minerals |
| Salt water | Very high | Causes rapid corrosion |
| Tea, coffee, juice | High | Sugar and acids damage circuits |
| Soft drinks | Very high | Sticky residue + corrosion |
Important: The steps below apply to all liquids, but phones exposed to salt water or sugary drinks may need faster professional help.
Immediate Actions: What to Do in the First 60 Seconds
The first minute matters more than anything else.
Do This Immediately
- Remove the phone from water
- Turn it OFF instantly
- Do not press any buttons
- Remove the case
Never Do This
- Do not shake the phone
- Do not turn it on “to check”
- Do not plug it into a charger
- Do not use a hair dryer or microwave
These mistakes push water deeper and increase internal damage.
Water-Resistant vs Water-Damaged Phones: Key Differences
Water resistance reduces risk, but it does not guarantee protection from water damage.
- IP52 phones are protected from limited dust and light water splashes
- IP67 phones can survive accidental submersion in fresh water up to 1 meter for 30 minutes.
- IP68 offers slightly better protection, usually for deeper water, under controlled test conditions.
- IP69 / IP69K offers protection against high-pressure, high-temperature water (Used in industrial and military equipment, not phones)
Learn more about IP ratings of cell phones before buying your next phone.
Water-resistant does not mean waterproof. Phones still have openings, and real-life factors like water pressure, movement, or dirty liquids can force water inside.
Over time, protective seals weaken due to heat, drops, aging, or repairs, making older phones more vulnerable—even if they were water-resistant when new.
Because water resistance degrades and depends on usage, manufacturers usually exclude water damage from warranty coverage.
The Liquid Contact Indicator (LCI) explanation shows how manufacturers detect water exposure internally and why this often affects warranty claims.
Bottom line: Water resistance helps, but any phone can suffer water damage.
7 Safe DIY Steps to Fix a Water-Damaged Phone
Follow these steps in order. Skipping or rushing steps can reduce recovery chances.
Step 1: Power Off the Phone Completely
If the phone is still on:
- Hold the power button
- Shut it down immediately
If it turned off by itself:
- Do not try to restart it
Why this matters:
Electricity flowing through wet circuits causes short circuits. Powering off stops further damage.
Step 2: Remove SIM Card, Memory Card, and Accessories
Carefully remove:
- SIM card tray
- SIM card
- MicroSD card (if present)
Dry these items separately using a soft cloth.
Why this helps:
These slots are common water entry points. Removing them improves airflow during drying.
Step 3: Gently Dry the Exterior
Use:
- A soft microfiber cloth
- Clean cotton cloth
Gently wipe:
- Screen
- Back panel
- Edges
- Ports (without pushing anything inside)
Do not use tissues—they leave fibers behind.
Step 4: Let Gravity Help (Drain the Water)
Position the phone:
- Upright
- Port-side down
- On a dry towel
Leave it this way for 30–60 minutes.
Why this works:
Gravity allows trapped water to escape instead of spreading deeper inside.
Step 5: Use Silica Gel or Dry Air (Not Rice Myth Alone)
Best options:
- Silica gel packets (most effective)
- Dry, airtight container
Place the phone inside:
- Cover it with silica gel packets
- Seal the container
Leave for 24–48 hours
About Rice (Important Truth)
Rice:
- Absorbs moisture slowly
- Leaves dust inside ports
- Is better than nothing, but not ideal
If rice is your only option:
- Use clean, uncooked rice
- Keep the phone elevated above rice if possible
Step 6: Wait Patiently Before Turning It On
This is where most people fail.
Wait at least:
- 24 hours for light splashes
- 48–72 hours for full submersion
Do not rush.
Hidden moisture can destroy components even after the phone appears dry.
Step 7: Test the Phone Carefully
After waiting:
- Power on the phone
- Test basic functions:
- Screen
- Touch response
- Speaker and microphone
- Camera
- Charging port
If the phone:
- Heats up
- Shows flickering
- Has distorted sound
Turn it off immediately and seek professional repair.
Before handing over your smartphone, take a look at the best mobile repairing shops in Mumbai to understand which repair centres are known for quality work and honest pricing.
Common Mistakes That Make Water Damage Worse
Avoid these dangerous actions:
- Using a hair dryer or heater (heat warps internal parts)
- Shaking the phone (spreads water)
- Charging a wet phone
- Opening the phone without knowledge
- Using alcohol directly on ports
These mistakes often turn minor damage into permanent failure.
Two Ways a Phone Gets Water Logged (Why It Matters)
A phone can get water logged in two main ways, and the level of damage depends on which one occurs.
1. Minor Water Exposure
This includes a few drops, light splashes, or brief rain exposure.
Only a small amount of moisture may enter the phone, and quick, careful DIY drying is often enough.
2. Complete Submersion
This happens when a phone is fully underwater, even for a short time.
In such cases, a large amount of water almost certainly enters the device, increasing the risk of internal damage and corrosion.
👉 If a phone is completely submerged, it’s usually safer and more effective to take it to a professional technician to open and dry the phone internally rather than relying only on DIY methods.
Key point:
Light exposure may be fixable at home, but full submersion usually needs professional care.
What Water Does Inside a Smartphone
Water causes hidden internal damage, even if the phone seems fine.
- Corrodes copper circuits
- Oxidizes connectors and ports
- Increases battery short-circuit risk
- Damages speaker membranes, causing muffled sound
Important: Internal damage can worsen over time without proper drying or repair.
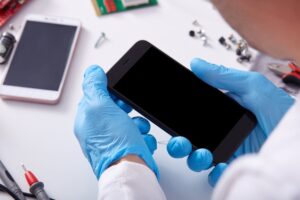
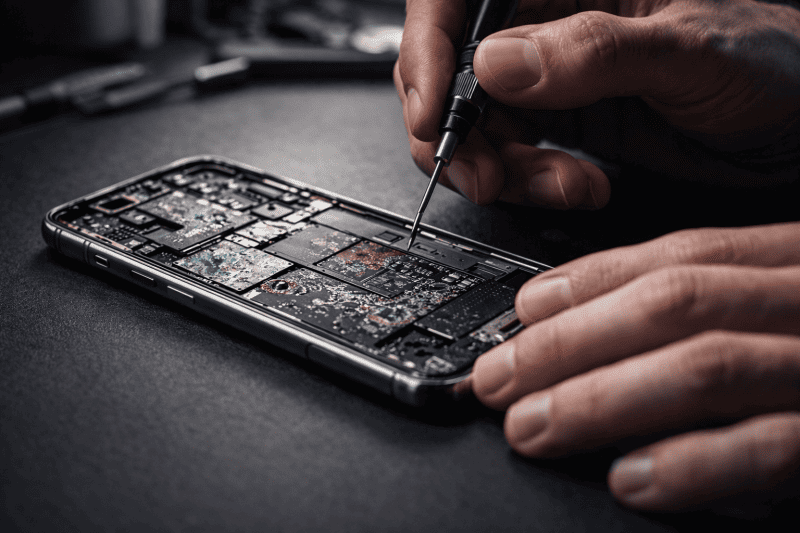
When DIY Is Not Enough (Professional Repair Signs)
Seek professional help if:
- Phone does not turn on after drying
- Display shows lines or black patches
- Speaker sounds muffled permanently
- Phone overheats
- Liquid damage indicator (LDI) is triggered
Professional technicians can:
- Open the phone safely
- Clean corrosion using proper tools
- Replace damaged components
You can also learn to repair phones by joining Prizm Institute’s smartphone repair course in Mumbai and start your career in this field.
DIY or Repair Shop? A Quick Decision Guide
| Situation | DIY Safe? | Professional Repair |
|---|---|---|
| Light rain splash | ✅ Yes | ❌ Not needed |
| Phone fully submerged | ⚠️ Try DIY first | ✅ Recommended |
| Salt or sugary liquid | ❌ No | ✅ Required |
| Phone overheating | ❌ No | ✅ Urgent |
If you are giving your phone for repairs to a mobile repair shop, here is a list of common mobile repairing scams in India to help you stay aware and avoid them.
Pros and Cons of DIY Water Damage Fix
Pros
- No cost
- Immediate action possible
- Can save lightly damaged phones
- Safe if done correctly
Cons
- Not effective for severe damage
- Cannot remove internal corrosion
- Risk of delayed failure
- Limited success for salt or sugary liquids
Practical Tips to Prevent Future Water Damage
- Use a water-resistant case
- Avoid phone use near sinks or pools
- Do not carry phones in loose pockets during rain
- Back up data regularly
- Enable cloud backups on Android and iPhone
Prevention is always cheaper than repair.
Water Damaged Phone: Myths vs Facts
| Myth | Reality |
|---|---|
| Rice fixes water damage | ❌ Limited help |
| Heat dries phones faster | ❌ Causes more damage |
| Phone is safe if it turns on | ❌ Damage may be delayed |
| Water damage is always fatal | ❌ Often recoverable |
FAQs
1. Can a phone survive being dropped in water?
Yes, especially if removed quickly and dried properly. Speed and correct steps matter most.
2. How long should I wait before turning on a wet phone?
At least 24–48 hours, depending on exposure.
3. Does rice really fix water-damaged phones?
Rice helps slightly but is not the best solution. Silica gel is more effective.
4. What if my phone turns on but has issues later?
Delayed corrosion is common. Backup data and get professional inspection.
5. Can water damage affect battery health?
Yes. Water can permanently damage lithium batteries, causing swelling or rapid drain.
6. Is water damage repair expensive?
Costs vary. Minor cleaning is affordable, but board damage can be costly.
7. Are water-resistant phones immune to water damage?
No. Water resistance reduces risk but does not guarantee protection, especially over time.
Conclusion
Water damage is scary, but panic causes more harm than water itself. Acting calmly and following safe, proven steps gives your phone the best chance of survival.
To recap:
- Power off immediately
- Remove cards and accessories
- Dry gently and patiently
- Avoid heat, charging, and shortcuts
- Test carefully after full drying
If DIY steps fail, take your device to a professional mobile phone repair service centre which is the safest next step.
Your phone may still be recoverable—but only if you treat it the right way.