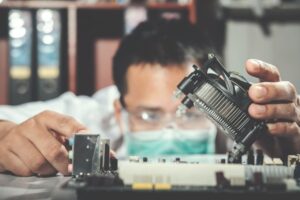
A motherboard PCB short circuit is one of the most common and confusing hardware problems in modern electronics. It can cause a phone not to power on, a laptop to shut down instantly, or a device to heat up without warning.
For beginners, a short circuit often feels like a dead end. For technicians, it is a systematic fault that can be diagnosed and repaired with patience, the right tools, and clear steps.
This guide explains how to fix a motherboard short circuit step by step in simple, practical language. It is written for Indian and global readers who want real-world clarity rather than theory-heavy explanations.
You will learn:
- What a PCB short circuit really means
- Why it happens in smartphones, laptops, and other devices
- How to diagnose it safely
- Step-by-step repair methods
- Common mistakes to avoid
- When repair is possible and when replacement is the wiser choice
No hype. No guesswork. Just reliable repair knowledge. If you’re new to electronics, this beginner’s guide to PCB repair and basic electronics concepts explains core fundamentals in a simple, easy-to-understand way.
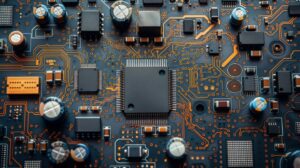
What Is a Motherboard Short Circuit
A PCB short circuit occurs when electricity flows through an unintended path on the printed circuit board. This usually happens when two points that should be electrically isolated get connected.
On a motherboard, this can cause:
- Zero power or instant shutdown
- Excessive current draw
- Rapid heating of components
- Battery drain or charging failure
In smartphones and laptops, short circuits commonly affect power rails like:
- VBUS
- VCC_MAIN
- VDD_CPU
- Battery positive lines
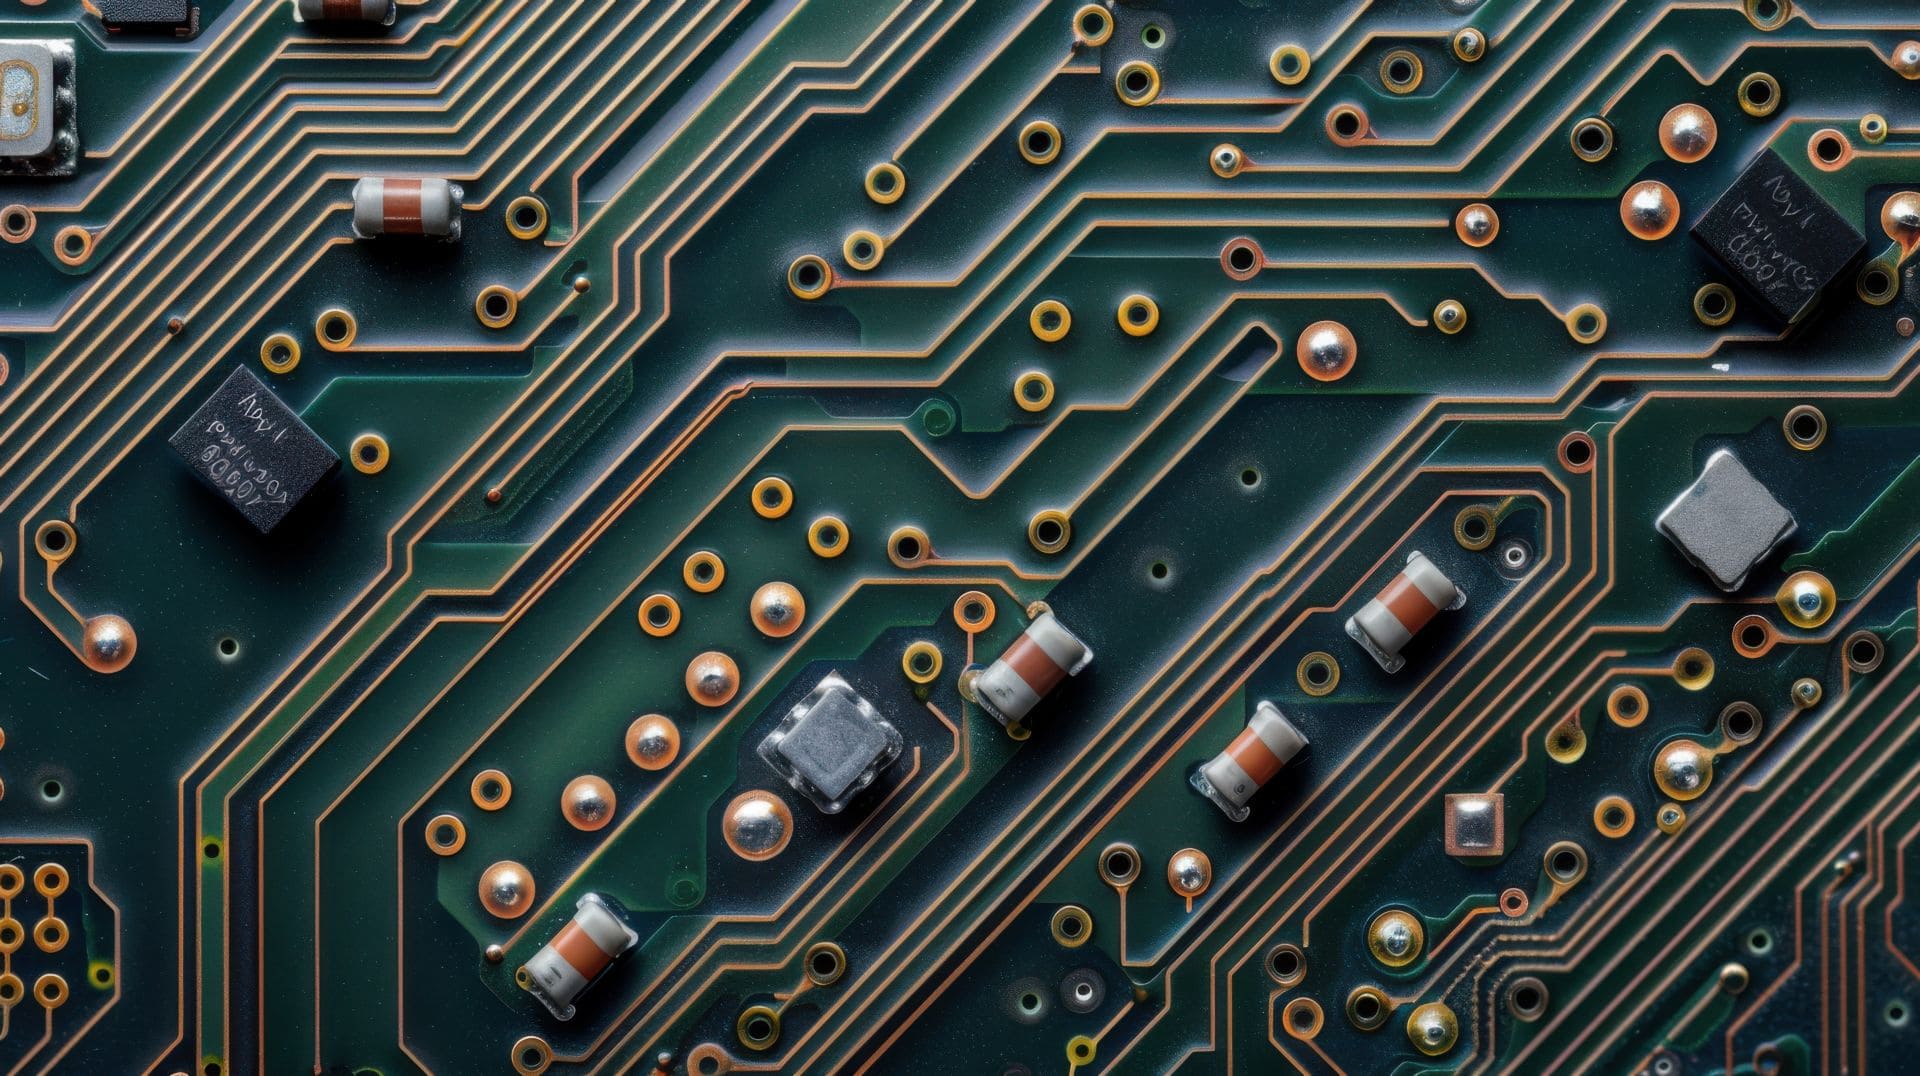
Important point:
A short circuit is not always visible. Many shorts happen under chips, inside multilayer PCBs, or due to microscopic solder bridges.
Many PC hardware problems start at the motherboard level. This guide on most common motherboard faults and how to fix them explains symptoms, causes, and practical repair steps.
Common Causes of PCB Short Circuits
Understanding the cause helps prevent repeat failures.
1. Liquid Damage
Water, tea, coffee, or humidity causes corrosion and conductive residue on PCB tracks.
2. Component Failure
Capacitors, ICs, and MOSFETs can internally short with age or overheating.
3. Physical Damage
Drops, bending, or pressure can crack PCB layers or shift components.
4. Poor Repair Work
- Excess solder
- Solder bridges
- Incorrect component replacement
5. Power Adapter or Battery Issues
Overvoltage from chargers or faulty batteries can damage power rails.
Devices Commonly Affected
PCB short circuits are frequently seen in:
- Smartphones and mobile devices
- Laptops and tablets
- Desktop motherboards
- Routers and modems
- Power supplies
This guide applies to Android phones, iPhones, laptops, and general electronics, with small variations depending on device complexity.
Tools Required to Fix a PCB Short Circuit
Before starting, gather proper tools. Guesswork without tools often causes more damage.
Essential Tools
- Digital multimeter with continuity and diode mode
- DC power supply with current limiting
- Hot air rework station
- Soldering iron with fine tip
Helpful Tools
- Thermal camera or IR thermometer
- Microscope or magnifying lens
- Flux, solder wick, leaded solder
- Isopropyl alcohol for cleaning
Tip:
A current-limited power supply is safer than connecting a battery or charger during testing.
Safety Precautions Before Repair
Never skip safety steps.
- Disconnect battery and power source
- Remove SIM, memory cards, and accessories
- Use ESD protection if available
- Avoid powering a suspected short directly from a charger
- Limit voltage and current during testing
Short circuits can destroy ICs in seconds if handled carelessly.
Step-by-Step Process to Fix a Motherboard PCB Short Circuit
Step 1 – Visual Inspection
Start with your eyes.
Check for:
- Burn marks or discoloration
- Corrosion or green residue
- Bent connectors
- Missing or cracked components
Use magnification and good lighting.
Real-world insight:
Many shorts caused by liquid damage are visible near connectors and power ICs.
Step 2 – Check for Short Using a Multimeter
Set the multimeter to continuity mode or resistance mode.
Steps:
- Place black probe on ground
- Touch red probe to power rails
- Listen for beep or note low resistance
General rule:
- Near-zero resistance usually means a short
- Very high resistance usually means no short
Repeat this for major rails like battery positive and main power line.
Step 3 – Isolate the Shorted Power Rail
Identify which rail is shorted.
Ways to isolate:
- Use board schematics if available
- Compare readings with a known good board
- Follow PCB traces from power input
This step prevents random component removal.
Step 4 – Inject Voltage Safely
This is a professional technique used by technicians.
Steps:
- Set DC power supply to low voltage
- 1V to 2V for phones
- 3V to 5V for laptops
- Set current limit low
- Inject power into the shorted rail
Watch for:
- Current spike
- Heating components
Never exceed normal rail voltage.
Step 5 – Identify the Heating Component
Shorted components heat up first.
Methods:
- Thermal camera
- Touch test with care
- Alcohol drop method
- Freeze spray
The faulty part will:
- Evaporate alcohol quickly
- Melt frost first
- Appear hot on thermal camera
Step 6 – Remove the Faulty Component
Common shorted parts:
- Ceramic capacitors
- Power ICs
- MOSFETs
Steps:
- Apply flux
- Use hot air evenly
- Lift component gently
- Clean pads
After removal:
- Check resistance again
- If short is gone, you found the culprit
Step 7 – Replace or Bypass the Component
Options depend on component type.
- Replace capacitor with same value
- Replace IC if available
- Temporarily bypass for testing only
Important:
Never permanently bypass safety or power regulation components.
Step 8 – Clean and Inspect the Area
Clean with isopropyl alcohol.
Inspect for:
- Solder bridges
- Damaged pads
- Lifted tracks
Recheck continuity and resistance.
Step 9 – Power On Test
Reconnect:
- Battery or power supply
- Minimal peripherals
Observe:
- Normal current draw
- Stable voltage
- No overheating
If device boots normally, proceed to full reassembly. The above steps apply universally to all motherboards used in mobile phones, laptops, computers, televisions, air conditioners, photo copiers and other electronic equipment.
Looking to build a career in electronics repair? This electronics PCB motherboard repair course details article covers course fees, duration, skills taught, and job opportunities.

Beginner vs Professional Repair Comparison Table
| Task | Beginner Method | Professional Method |
|---|---|---|
| Short detection | Multimeter | Power injection |
| Heat detection | Touch / alcohol | Thermal camera |
| Component removal | Soldering iron | Hot air station |
Common Mistakes to Avoid
- Injecting high voltage
- Removing components randomly
- Ignoring corrosion
- Using chargers instead of power supplies
- Skipping resistance rechecks
These mistakes often turn repairable boards into scrap.
When a PCB Short Is Not Repairable
Some cases are beyond safe repair.
Examples:
- Internal PCB layer short
- CPU or baseband IC short
- Burned multilayer tracks
- Repeated short after component replacement
In such cases, board replacement is usually more reliable.
Preventing PCB Short Circuits
Prevention saves time and money.
- Avoid cheap chargers
- Keep devices away from moisture
- Clean liquid damage immediately
- Use proper ESD handling
- Avoid overheating during repairs
Pros and Cons of Repairing PCB Short Circuits
Pros
- Saves cost compared to board replacement
- Restores original data
- Environment-friendly
Cons
- Requires skill and tools
- Time-consuming diagnosis
- Not all shorts are repairable
When to Stop Repair and Choose Board Replacement
Not every motherboard PCB short circuit is worth repairing. Knowing when to stop is a critical professional skill and an important trust signal for readers.
You should seriously consider board replacement instead of repair in the following situations:
- Internal PCB layer short
Shorts inside multilayer boards cannot be accessed or isolated reliably and usually return even after temporary fixes. - CPU or baseband IC short
If the main processor or baseband IC is confirmed shorted, replacement requires advanced BGA rework and has a low success rate. - Repeated short after component replacement
If the same rail shorts again after replacing known faulty components, the root cause is often deeper and unstable. - Severe liquid damage with heavy corrosion
Extensive corrosion under multiple ICs often leads to hidden shorts that appear later, even after cleaning. - Burnt or carbonized PCB material
Carbonized PCB becomes conductive. Cleaning does not restore insulation, making future shorts likely. - Repair cost exceeds replacement value
When labor time, parts, and risk outweigh the value of the device, replacement is the practical choice. - Data or reliability is mission-critical
For business, medical, or safety-critical devices, board replacement ensures long-term stability.
Common Myths About PCB Short Circuits
- All PCB short circuits mean the motherboard is dead
Not true. Many shorts are caused by failed capacitors or protection components and can be fixed with proper diagnosis. - Applying higher voltage helps find shorts faster
This is dangerous. Excess voltage can destroy ICs and PCB layers. Always inject low, controlled voltage. - Removing any capacitor is safe
Incorrect. Some capacitors are critical for power stability. Removing the wrong one can create new faults. - If the board heats up, the CPU is always faulty
CPUs rarely fail first. Most heating issues come from shorted capacitors or power management components nearby. - Liquid damage always causes permanent short circuits
Not always. Many liquid-damaged boards work normally after proper cleaning and corrosion repair. - A short circuit is always visible to the eye
False. Many shorts occur under chips or inside PCB layers and require testing tools to detect. - Using a charger is fine for testing shorted boards
Unsafe. Chargers lack current control and can cause further damage. A current-limited power supply is essential.
Frequently Asked Questions
1. Can a motherboard short circuit be fixed permanently
Yes, if the faulty component is identified and replaced correctly.
2. Is a PCB short circuit dangerous
It can damage components and batteries but is rarely dangerous if handled safely.
3. How do I know if my phone motherboard has a short
Zero power, heating, and low resistance readings are common signs.
4. Can I fix a short circuit without a power supply
Basic detection is possible, but proper repair is risky without one.
5. Are ceramic capacitors common causes of shorts
Yes. They fail frequently in mobile and laptop motherboards.
6. Does liquid damage always cause short circuits
Not always, but it significantly increases the risk.
Conclusion
Fixing a motherboard PCB short circuit is not about luck. It is about methodical diagnosis, controlled testing, and careful repair.
By following a step-by-step process:
- Visual inspection
- Multimeter testing
- Safe voltage injection
- Thermal detection
- Precise component replacement
Many short circuits can be repaired reliably in smartphones, laptops, and other electronic devices.
For beginners, start slow and practice on scrap boards. For professionals, consistency and documentation improve success rates.
If the short is internal or IC-level, replacement is often the safest decision.
Clear diagnosis always comes before repair.